Ingredients
- 3 cups bread flour
- 2–3 teaspoons salt
- about ½ cup active sourdough starter
- 1¼ cups warm water, about 105°F
- Rice flour, for dusting the bread
Off-Topic · Low-mess baking
A simple sourdough method for delicious bread with minimal mess and minimal effort.
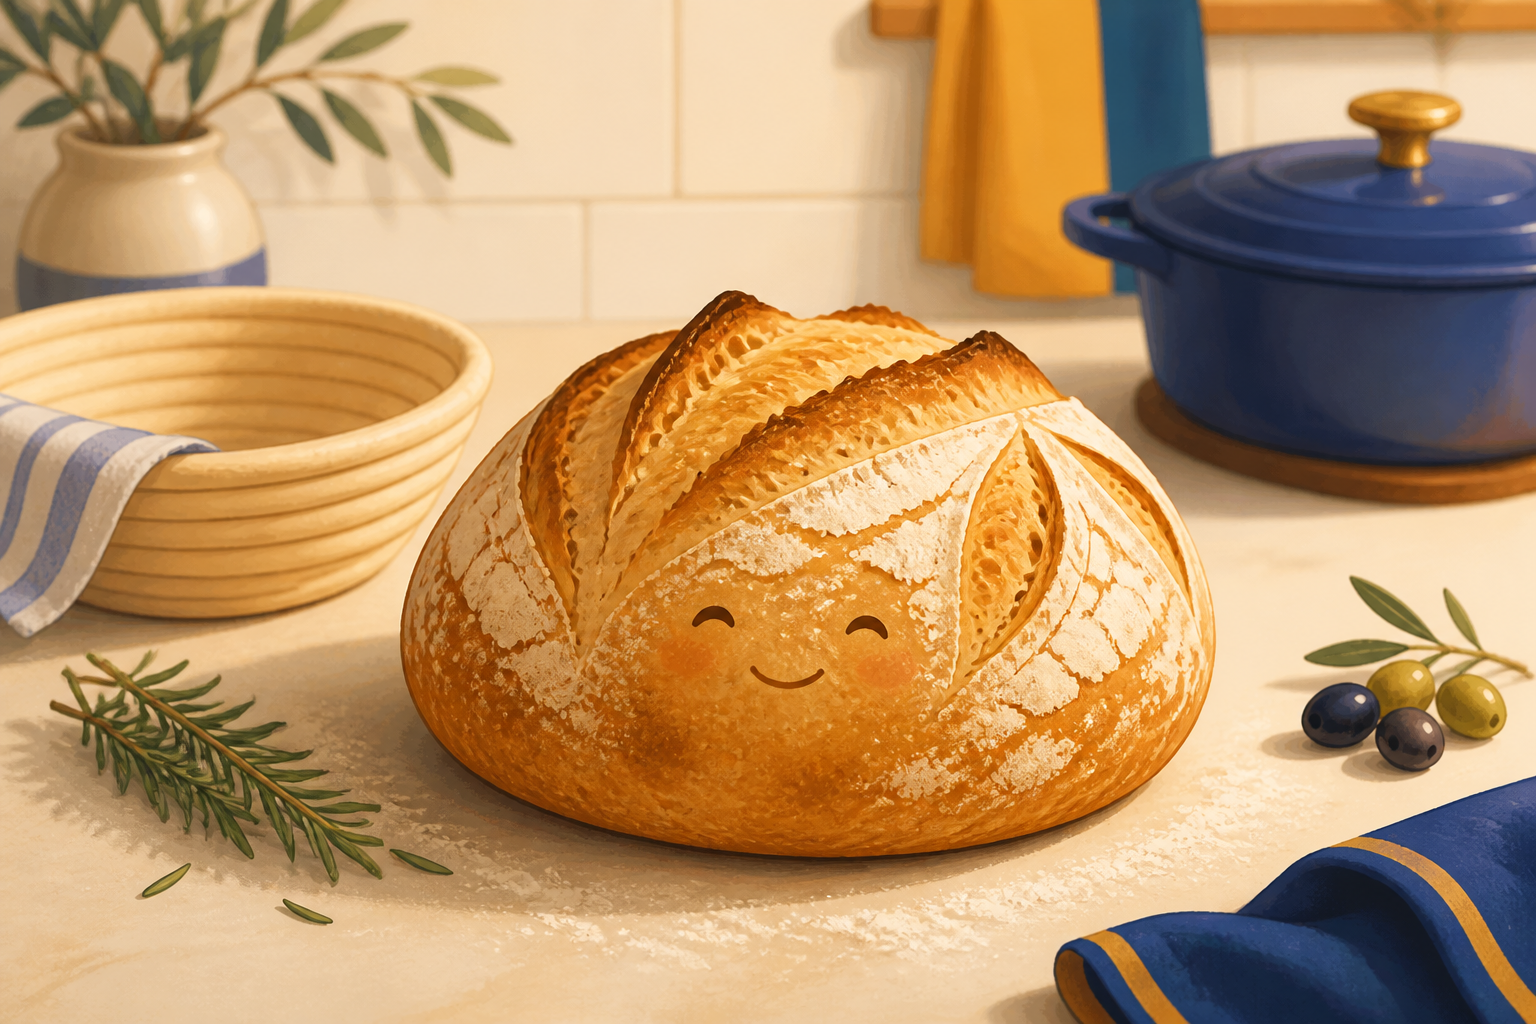
One bowl, wet hands, a few in-bowl folds, an overnight rest, an easy flip, and a covered bake in a hot Dutch oven.
Recipe
A simple sourdough method for delicious bread with minimal mess and minimal effort.
Combine the flour and salt in a large mixing bowl.
In a separate container, mix the warm water and sourdough starter. Pour the wet mixture into the dry ingredients and combine everything with a bowl scraper.
No kneading is necessary. Just mix until there is no significant dry flour left. The dough can still look rough and shaggy.
For instance, for an olive or rosemary bread, simply add the olives or rosemary to the wet ingredients before combining wet and dry.
Leave the dough in the mixing bowl. Wet your hands with water, stretch one side of the dough upward, and fold it over the center. Rotate the bowl and repeat from all sides.
Repeat every 15–30 minutes for several rounds.
Wet hands are the secret to keeping this low-mess. The dough sticks much less to wet fingers, and there is no need to flour the counter or even take the dough out of the bowl.
Leave the dough in the bowl and allow it to rise until it has noticeably increased in volume and looks lighter and airier.
Watch the dough, not just the clock. Fermentation depends on room temperature and humidity and can be quite different in summer and winter. In a warm kitchen, the dough may be ready considerably faster.
Gently shape the dough into a round loaf, creating some tension across the outside without squeezing out all the air.
Dust the outside of the bread with rice flour, then place it into the proofing basket.
The rice flour helps prevent sticking. There is no need to make the loaf perfectly shaped—the goal is good bread with minimal effort.
Cover the proofing basket and place it in the refrigerator for approximately 12–16 hours.
The overnight fermentation develops flavor and makes the cold dough easier to handle and score the next day.
Place the Dutch oven with its lid in the oven and preheat to 500°F.
Give the Dutch oven enough time to become thoroughly hot before baking.
Place a reusable round baking sheet on top of the proofing basket and put a cutting board on top of the baking sheet.
Hold everything together and flip it over. Remove the proofing basket.
Score the top of the bread with a scoring tool or bread lame.
The cutting-board trick makes flipping the bread very easy. The loaf ends up sitting directly on the baking sheet, so you don't have to drop or maneuver the dough into a very hot Dutch oven.
Transfer the bread, together with the baking sheet, into the hot Dutch oven.
Bake:
The bread is ready when the crust is deeply golden and crisp. The uncovered portion of the bake develops the color and crust.
Remove the bread from the Dutch oven and place it on a wire cooling rack or grid. Let it cool before cutting.
The grid allows air to circulate underneath the loaf so the bottom cools properly instead of trapping steam.
And resist cutting it immediately! Cutting sourdough while it is still very hot can make the inside seem gummy.
Low-Effort Philosophy
One bowl. No kneading. Wet hands. Stretch and fold in the bowl. Overnight in the refrigerator. Easy flip. Bake.
Room temperature and humidity will always introduce a little uncertainty—especially between summer and winter—so let the dough tell you when it is ready rather than relying entirely on fixed times.
Back to homepage